
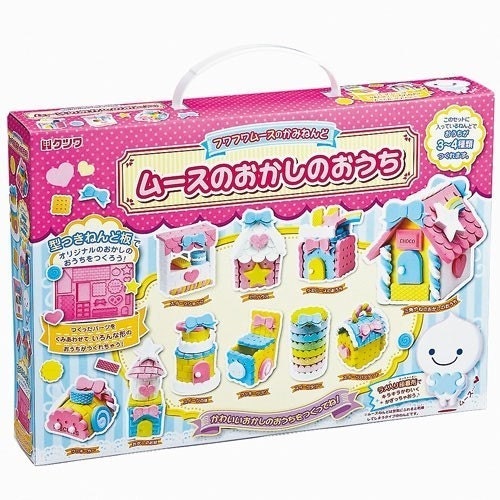
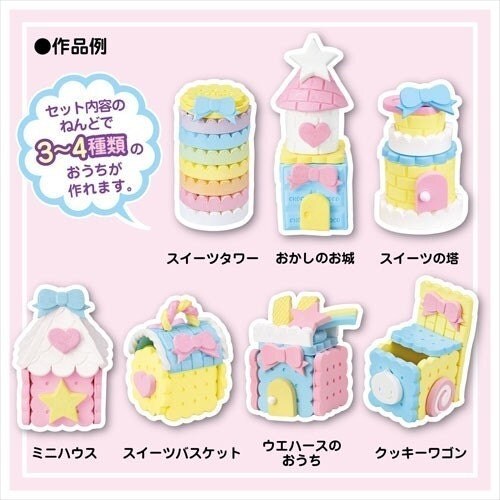
Cute Japanese Mousse Paper Clay Making Sweets House Kit
http://www.etsy.com/view_listing.php?listing_id=41587076
This is a really cute clay sweets making kit. A clay is light weight and called "fuwa fuwa mousse". "Fuwa fuwa" means soft like a cloud.
This kit comes with various machines/molds and cutters including:1 - 1 soft 3D mold to form various shapes (roof, star, heart, bow, macaron, biscuit, chocolate etc) in order to make decorations on sweets with .2 - 4 different colored clay (yellow, pink, blue and white)3 - a glitter glue4 - instruction paper (Even though it is written in Japanese, you can follow easily by the pictures).How to make...*****To make 8 different kinds of ropes*Please follow the pictures on the instruction included in the kit.1-Choose your rope design and place to the rope design plate with smooth side against the macine.2-Lift up the handle and put the clay in (please look up to the picture for the place to put the clay).3-Put down handle slowly and push it.*********To use the mold tray (the tray is pink and attached to the bottom of the rope making machine..just pull off).1-put a bit of vegetable oil using a cloth on the inside of the mold tray.2-Fill the molds with the clay. Press the clay firmly. Then, please remove any excess clay with a knife.3-Pop out of the tray using both hands by pushing little by little (please look at the pictures on the instuction page which is included). If you push to much you will change the shape. After please put somewhere safe to dry.****************Using 3d molds1) Please oil the molds using vegetable oil on a cloth.2) Put a ball of clay in the deep side of the mold-it shouldn`t be flat but rounded.3)Close the mold.4) Put the 3d mold in between the handles of the rope maker (please look at the picture in the instructions) and push down. I`m not sure you actually need to do this....you might be able to just close the 3d mold and push yourself but the instructions say to put the mold between the handles of the machine.5)Open the mold and remove and remove any clay around the joint. If it is difficult to remove, you can you a toothpick to gently remove it.
When decorating your sweets like cupcake and candy (ex gluing the rope or shapes to the base) you need to use glue meant for wood (according to the instructions). Glue is NOT included in the kit.****************Using Glitter powders and glue on your clay crafts.1-Brush the glitter vanish glue on the top of clay sweets.At this point you can stop as there is glitter in the glue. Or you can add more glitter by sprinkling glitter powder on top.****************Using a bag for adding glitter to clay sweets1-Put a thin layer of glue on the top and put some glitter powders in a bag.2-Put your clay sweet (that has the glue on it) in the bag.3-Close the zipper of bag and shake it well.4-It becomes glitter clay sweets.
It will take 1-1.5 days for the clay to dry.You will need to glue the pieces together. The glue for wood is NOT included in this kit.If the clay is hard when you want to use it please use water to make the clay soft.***The kit is bigger/heavier than other clay kit. So shipping is more.
No comments:
Post a Comment